 Save to Pinterest
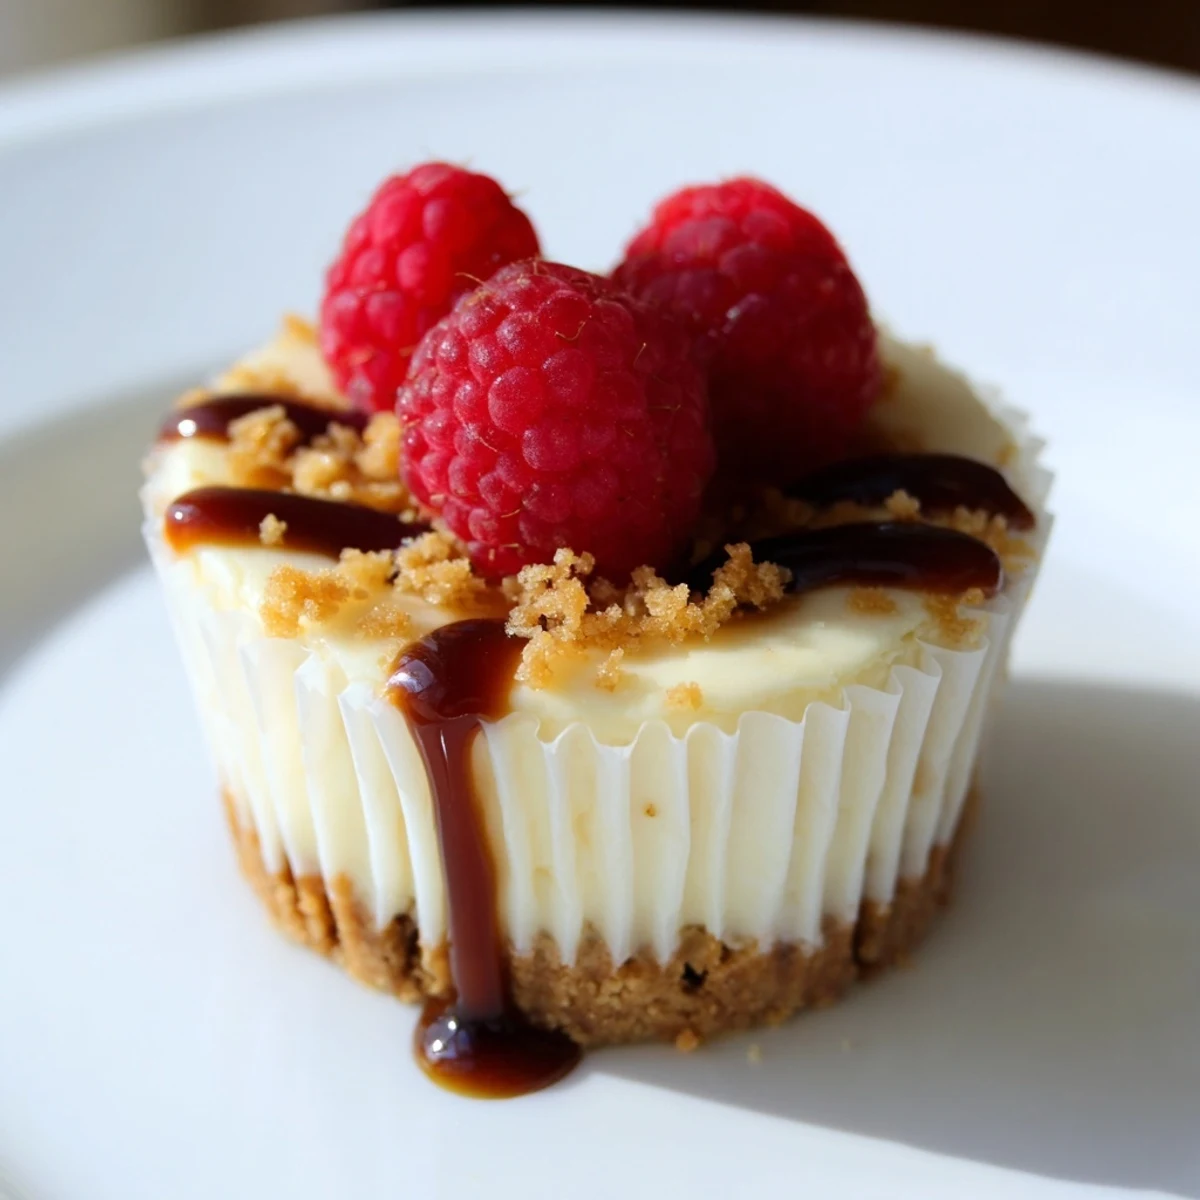
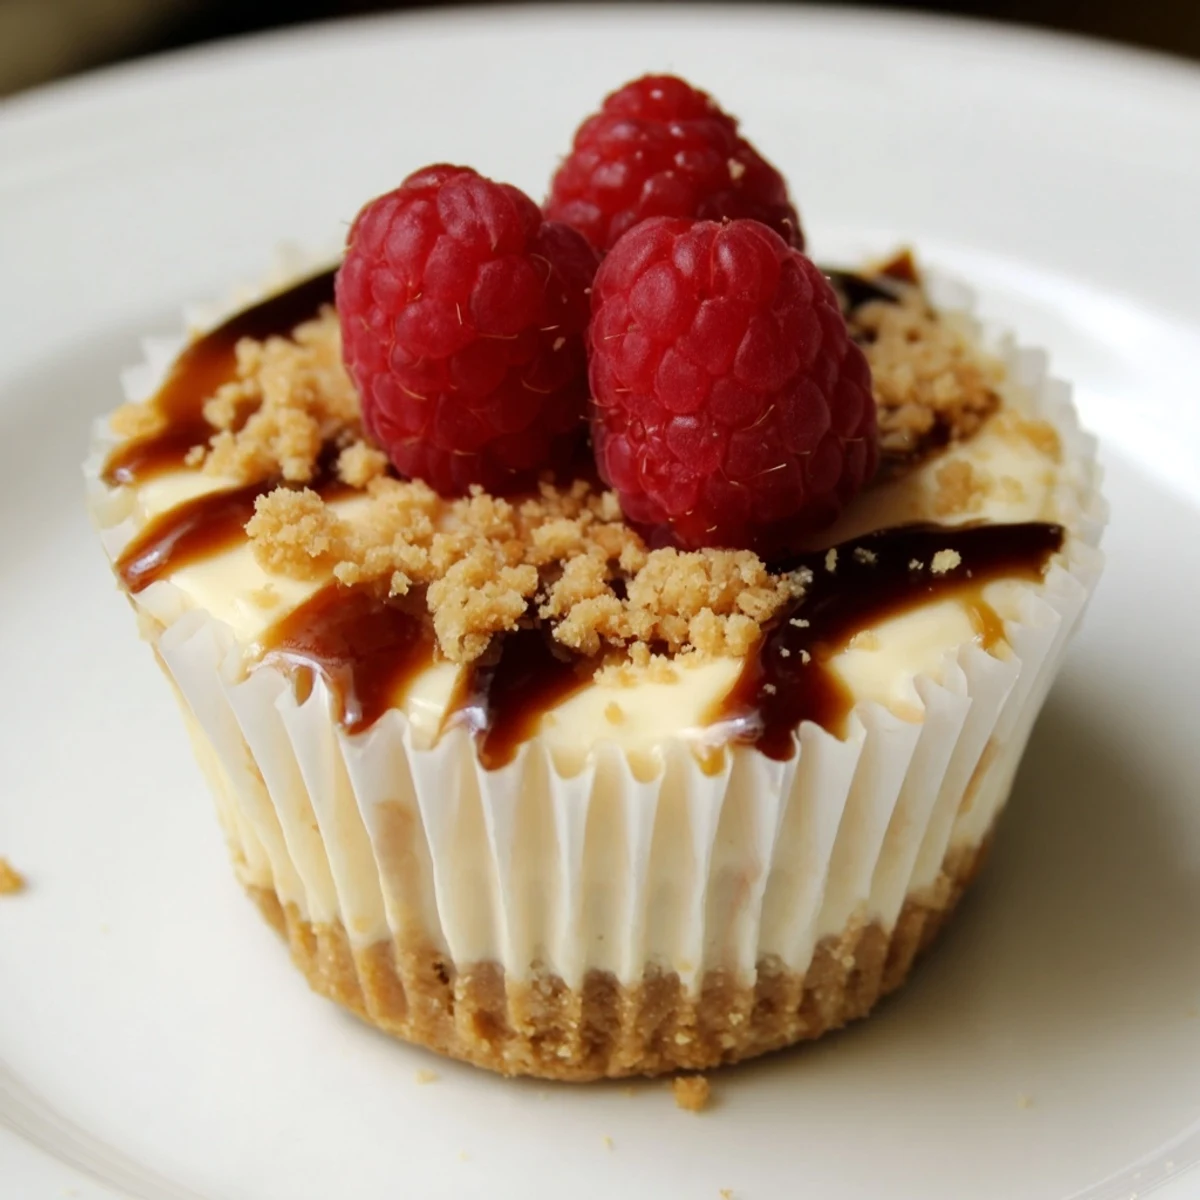
 These individual cheesecakes combine a buttery graham cracker crust with a silky cream cheese filling, baked in a standard muffin tin for perfectly portioned servings.
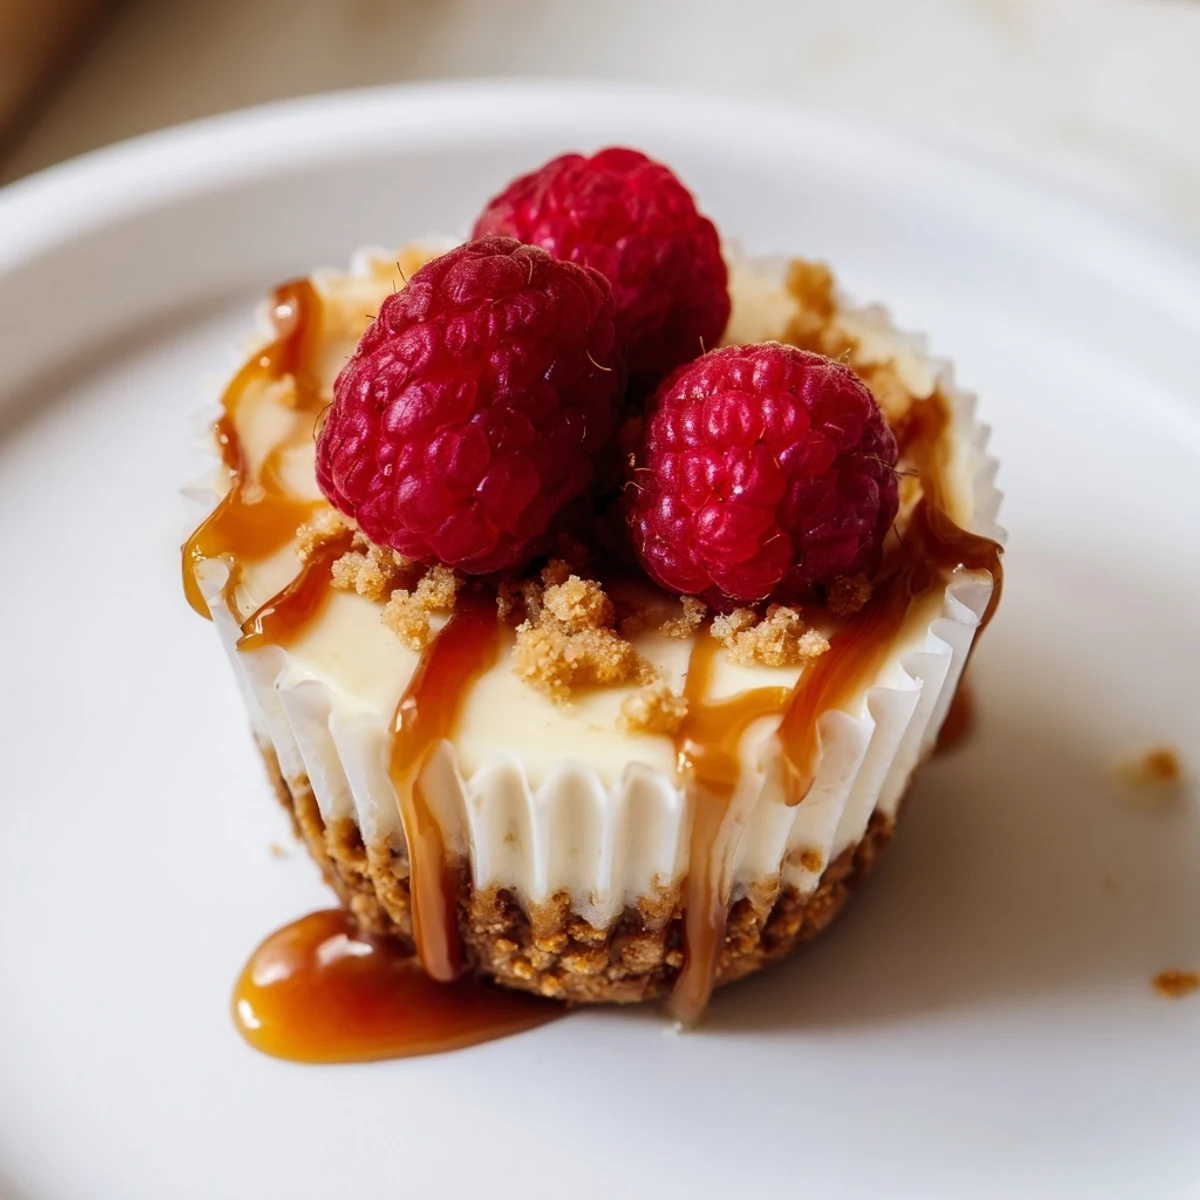
Each one is finished with your choice of toppings—fresh berries, lemon curd, melted chocolate, caramel drizzle, or crushed cookies—making them endlessly adaptable for any occasion.
With just 20 minutes of prep and a short bake, they chill to perfection in about an hour, yielding a dozen creamy, crowd-pleasing desserts ready to serve at your next gathering.
The summer my neighbor brought over a plate of mini cheesecakes after a backyard barbecue, I stood in my kitchen at midnight eating three of them cold from the fridge, completely unable to stop. Something about that buttery crust and tangy filling in a single serving size rewired my brain. I became slightly obsessed with perfecting my own version, testing toppings on willing friends until they stopped returning my calls (just kidding, but barely). These little individual cheesecakes are now my undisputed go to for any gathering where I want to look impressive without losing my mind.
My friend Clara once requested these for her birthday instead of cake, and I spent an entire afternoon arranging twelve different toppings like a tiny dessert buffet in my kitchen. Her face when she saw a whole tray of personalized cheesecakes with little flags naming each flavor was absolutely worth the cramp in my writing hand. Now it is tradition, and every year the topping combinations get wilder and the flags get more elaborate.
Ingredients
- Graham cracker crumbs (120 g or 1 cup): The foundation of everything good here, and fresh crumbs make a massive difference compared to the prepackaged kind.
- Unsalted butter, melted (50 g or 1/4 cup): Binds the crust together with richness, and using unsalted lets you control the final flavor completely.
- Sugar (2 tbsp for crust, 100 g or 1/2 cup for filling): A small amount in the crust balances the butter, while the larger portion sweetens the filling without making it cloying.
- Cream cheese, softened (340 g or 12 oz): The star of the show, and it truly must be at room temperature or you will chase lumps around your bowl for eternity.
- Large egg (1): Gives the filling its silky set and slight richness, binding everything into that classic cheesecake texture.
- Vanilla extract (1 tsp): Use the real stuff here because the flavor carries through beautifully in such a simple filling.
- Sour cream (120 ml or 1/2 cup): The secret weapon that adds tang and keeps the texture velvety smooth even after chilling overnight.
- Toppings of your choice: Fresh berries, lemon curd, melted chocolate, caramel sauce, chopped nuts, crushed cookies, or fruit preserves all work beautifully, so follow your heart.
Instructions
- Set up your oven and pan:
- Preheat to 160 degrees Celsius (325 degrees Fahrenheit) and line a 12 cup muffin tin with paper liners, pressing each one flat so your cheesecakes have a clean base.
- Build the crust:
- Toss the graham cracker crumbs, melted butter, and sugar together until the mixture feels like damp sand that holds its shape when you squeeze it.
- Press and divide:
- Spoon the crust mixture evenly among the twelve liners and press down firmly with the back of a spoon or a small glass to create a compact, even layer.
- Whip the filling:
- Beat the softened cream cheese and sugar together until completely smooth and lump free, scraping the sides and bottom of the bowl a couple of times to catch any stubborn bits.
- Add the finishing touches:
- Pour in the egg and vanilla, mixing only until combined, then gently fold in the sour cream by hand so you do not overwork the batter and introduce too much air.
- Fill the cups:
- Spoon or pipe the filling evenly over each crust, then tap the pan gently on the counter to release any trapped bubbles and smooth the tops with a small spatula.
- Bake with patience:
- Bake for 18 to 20 minutes until the edges look set but the centers still have a gentle wobble when you shake the pan, which means they will finish setting as they cool.
- Cool gradually:
- Let the cheesecakes rest in the pan for 15 minutes at room temperature, then transfer them to a wire rack to cool completely before the chill step.
- Chill thoroughly:
- Refrigerate for at least one full hour so the filling firms up into that dense, creamy texture you are after, or overnight if you can stand the wait.
- Top and serve:
- Add your chosen toppings right before serving so everything looks fresh and vibrant, and watch everyone gravitate toward their favorite flavor.
 Save to Pinterest
 The first time I made these for a holiday potluck, I set out little bowls of toppings and watched fully grown adults get giddy assembling their own combinations like kids at an ice cream sundae station.
Mixing Up the Crust
Graham crackers are classic for a reason, but I have started swapping in crushed chocolate cookies, gingersnaps, and even pretzels depending on what topping I plan to use. A chocolate cookie base under caramel and chopped pecans tastes like a tiny turtle cheesecake, while gingersnap crusts under lemon curd are bright and unexpected. The ratio stays the same no matter what cookie you crush, so feel free to experiment wildly.
Freezing for Later
These mini cheesecakes freeze beautifully without any toppings, which means you can always have a batch ready for unexpected guests or sudden dessert emergencies. Wrap each one individually in plastic wrap and store them in a freezer bag for up to two months. Thaw them overnight in the fridge and add toppings just before serving, and nobody will ever guess they came from your freezer.
Serving and Pairing Suggestions
A plate of these mini cheesecakes alongside strong coffee or a glass of dessert wine turns a casual weeknight into something worth remembering. I love setting them out on a wooden board with scattered fresh berries and a few small dishes of extra toppings so guests can customize.
- Keep a few plain ones for anyone who prefers the pure cheesecake experience without distractions.
- A light dusting of powdered sugar over bare cheesecakes looks elegant with almost zero effort.
- Always make a couple extra because someone will inevitably want seconds before you even finish serving.
 Save to Pinterest
 These little cheesecakes have a way of making any table feel more special, and honestly, having a dozen individual desserts ready in the fridge is a kind of everyday luxury I refuse to give up.
Recipe Q&A
- → Can I make mini cheesecakes ahead of time?
-
Absolutely. These mini cheesecakes actually benefit from being made in advance. Store them in the refrigerator for up to 3 days before adding toppings. You can also freeze the plain cheesecakes for up to 2 months—just thaw overnight in the fridge and add fresh toppings before serving.
- → Why did my cheesecakes crack on top?
-
Cracking usually happens from overmixing the batter or baking at too high a temperature. Mix the filling until just combined, especially after adding the egg. Baking at 160°C (325°F) with the centers still slightly jiggly ensures a smooth, crack-free surface.
- → What can I use instead of graham crackers for the crust?
-
You can swap graham crackers for crushed chocolate cookies, gingersnaps, vanilla wafers, or even pretzels for a sweet-and-salty twist. Any dry, crumbly cookie works well when mixed with melted butter and pressed into the muffin cups.
- → How do I get the cheesecakes out of the pan cleanly?
-
Using paper cupcake liners is the easiest method. If you prefer liner-free, make sure to cool them completely in the pan, then chill thoroughly. Run a thin knife around the edges and gently lift them out using a small offset spatula.
- → Which toppings pair best with these mini cheesecakes?
-
Fresh berries like strawberries, blueberries, and raspberries are classic choices that balance the richness. Lemon curd adds brightness, while melted chocolate or caramel sauce creates a decadent finish. A combination of two toppings—like berries with a chocolate drizzle—makes a beautiful presentation.
- → Can I use a different type of pan instead of a muffin tin?
-
A standard 12-cup muffin tin works best for individual portions, but you can also use a mini cheesecake pan with removable bottoms. Silicone muffin molds are another option that makes removal effortless. Adjust baking time slightly if using a different pan size.