 Save to Pinterest
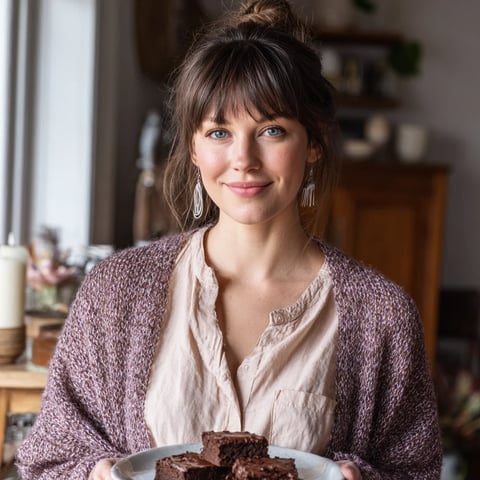
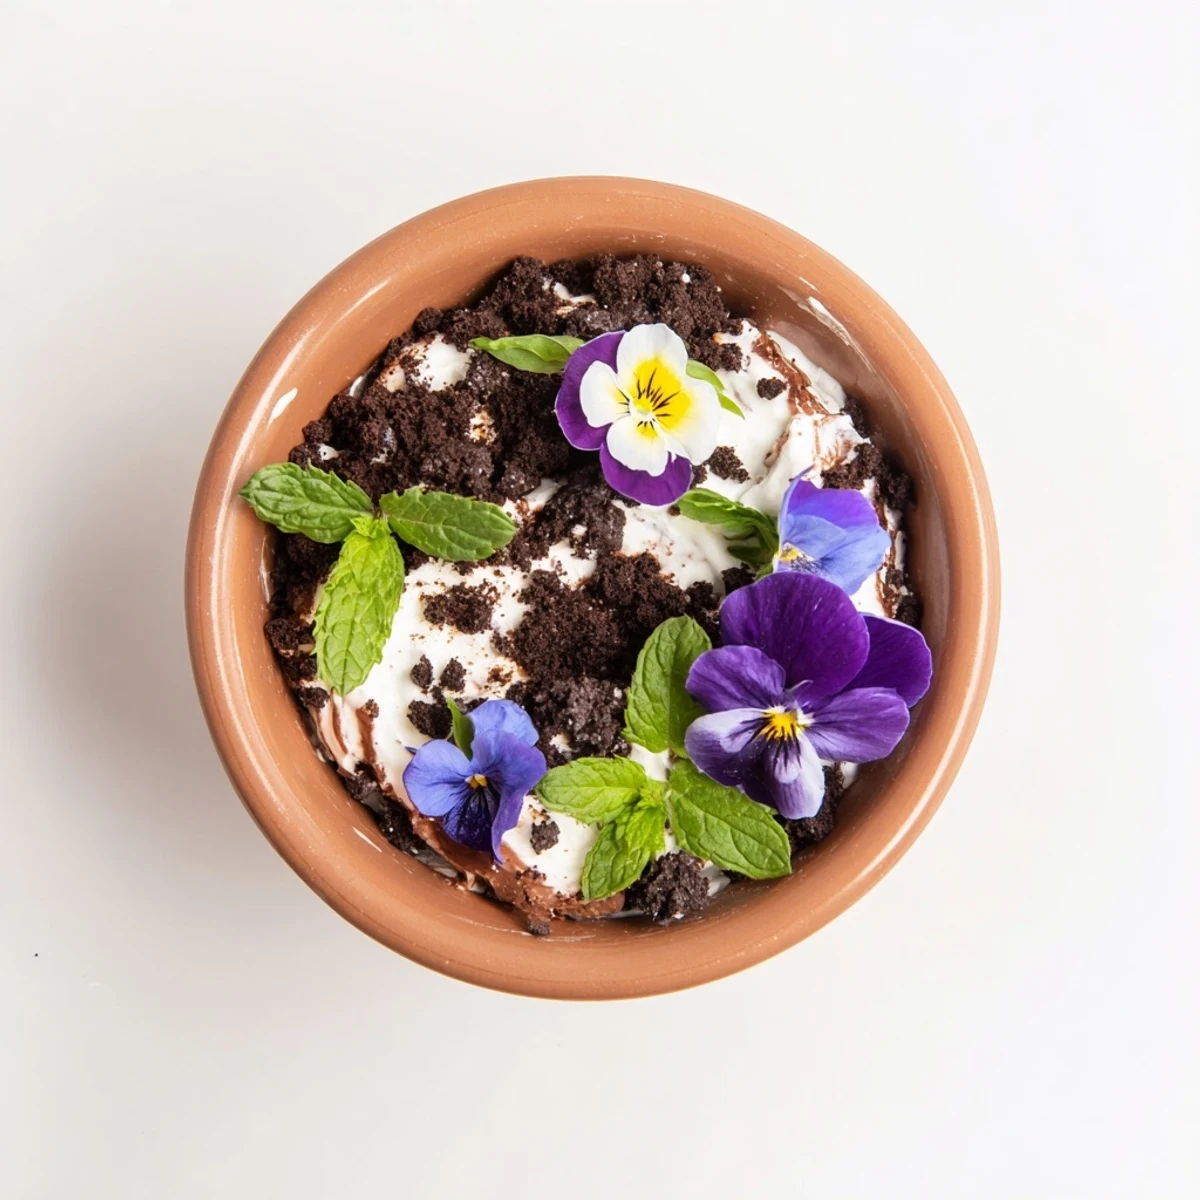
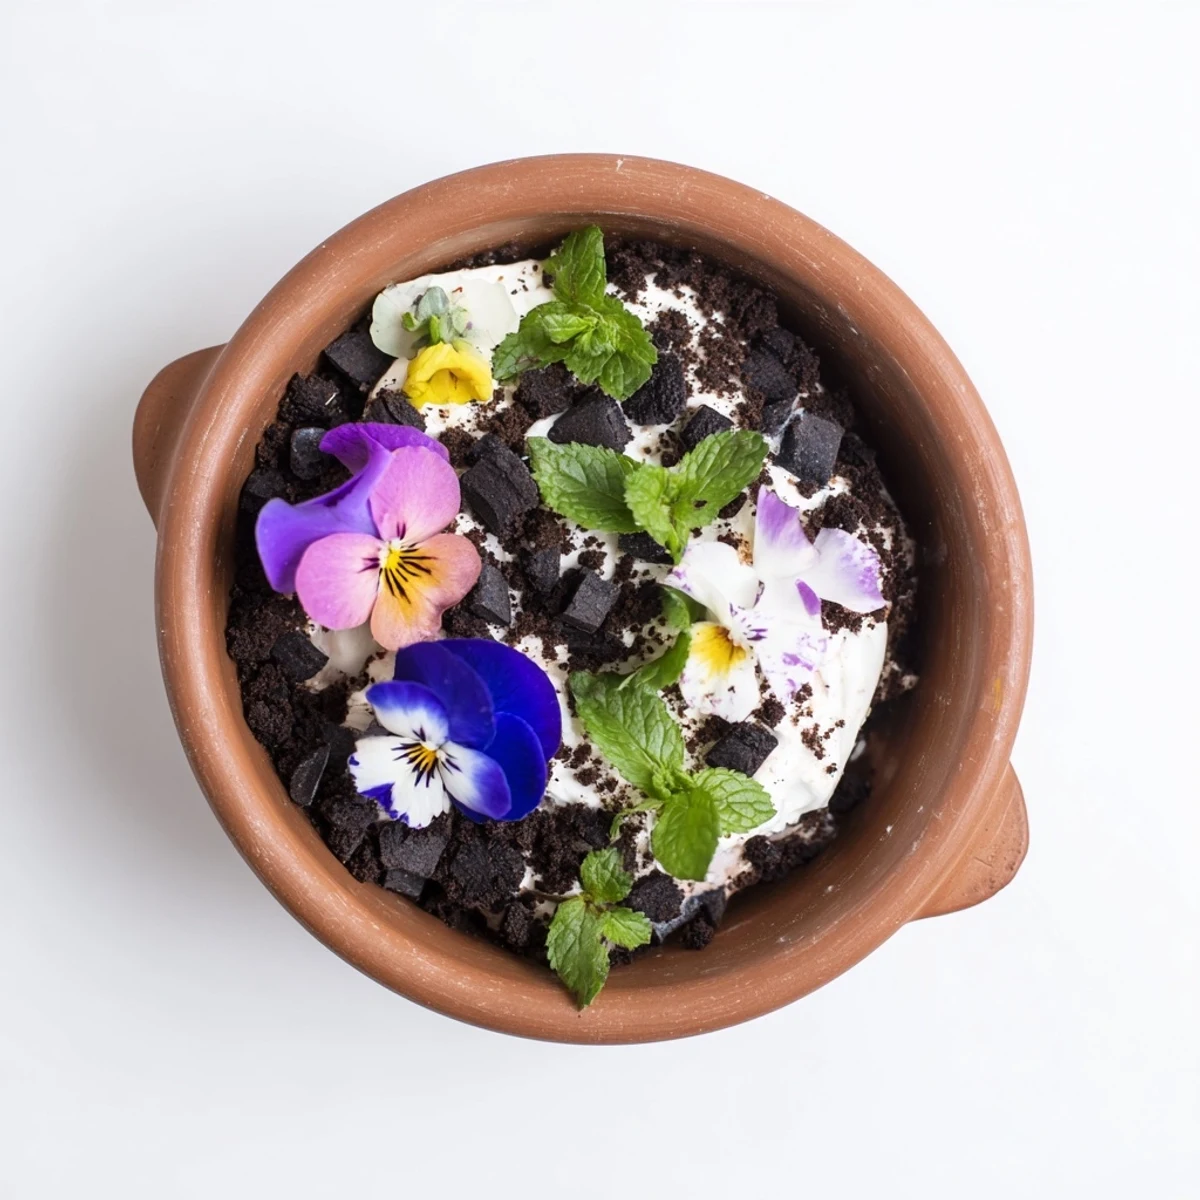
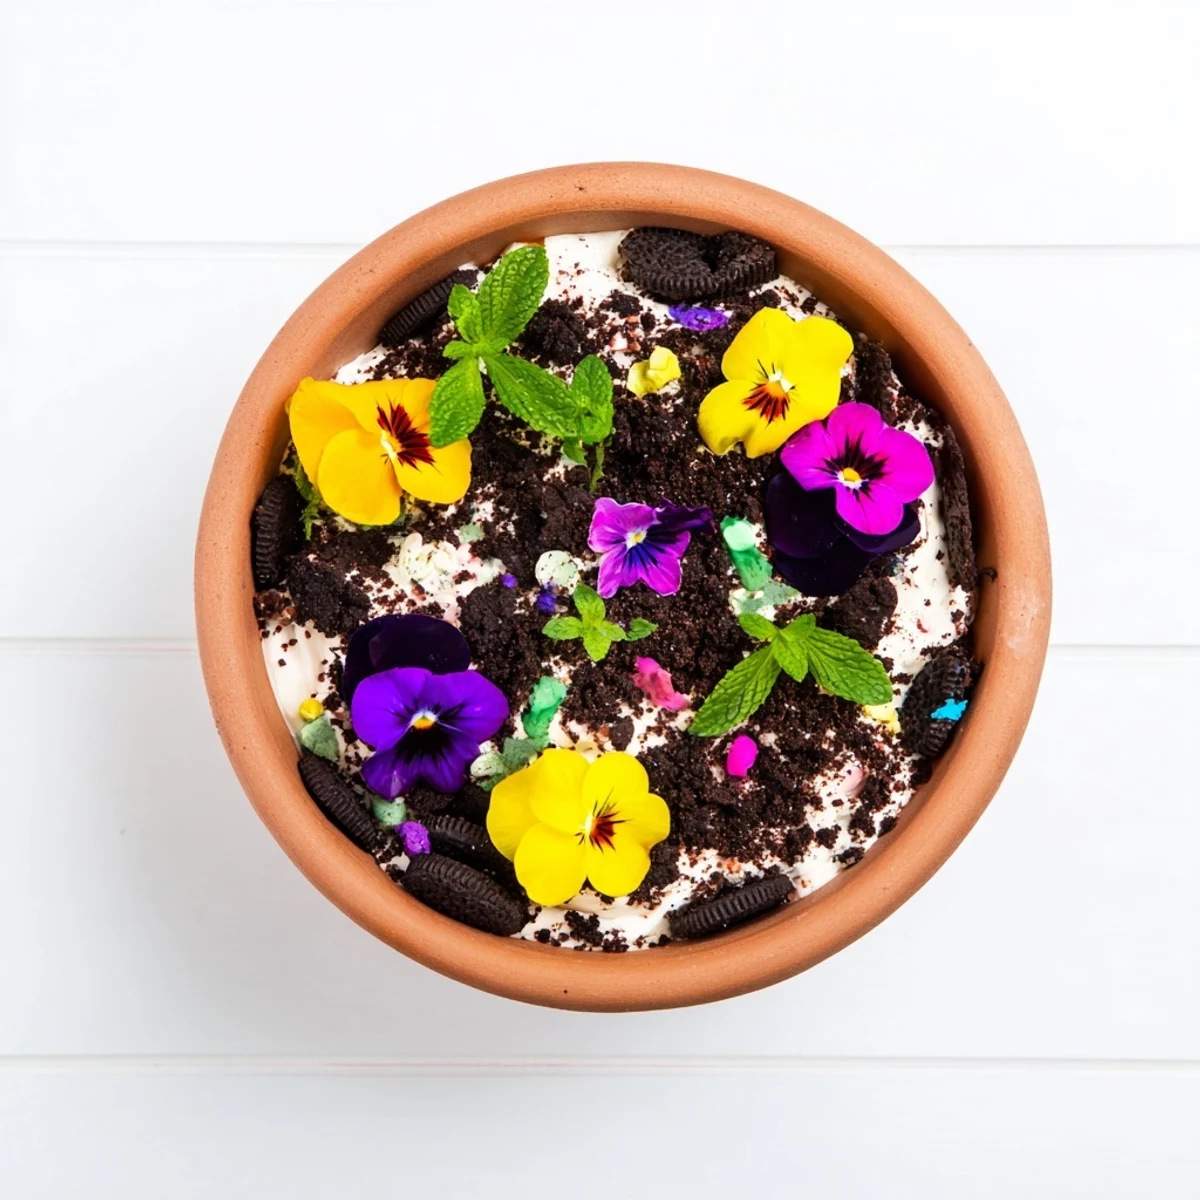
 This whimsical dessert transforms simple ingredients into a stunning visual masterpiece. Rich chocolate cake forms the foundation, layered with silky vanilla cream and finished with chocolate cookie crumble soil. Fresh edible flowers, mint leaves, and herb sprouts create the illusion of a miniature garden blooming from individual flower pots or dessert cups.
The assembly process is straightforward: bake the tender cocoa cake, whip the lightly sweetened cream, then layer them in small containers. The cookie crumbs provide realistic soil texture while adding delightful crunch. Each spoon delivers creamy, chocolatey comfort with surprising freshness from the floral garnish.
Perfect for garden parties, spring celebrations, or whenever you want to serve something truly memorable. The combination of familiar flavors with playful presentation makes this a crowd-pleasing dessert that sparks conversation and delight.
My daughter came home from school one day raving about how her art teacher served dessert in actual flower pots and convinced the whole class it was dirt. The way her eyes lit up describing the moment of discovery—biting into 'soil' and finding cake—I knew I had to recreate that magic. I spent three weekends perfecting the cake-to-cream ratio so the layers would hold up in those tiny pots. Now it's become our go-to surprise for spring birthdays and garden parties.
Last summer I served these at my sister's outdoor baby shower, and I watched her mother-in-law carefully inspect her pot before taking the most tentative bite. Her face went from suspicious confusion to pure delight in about two seconds flat. Half the guests thought I'd actually gone crazy and put garden soil in their dessert.
Ingredients
- All-purpose flour: The structural backbone that holds all those whimsical layers together
- Unsweetened cocoa powder: Deep chocolate flavor that makes the cake layer feel rich and indulgent
- Buttermilk: The secret to tender cake crumb that won't turn to mush when layered
- Heavy cream: Whipped to perfection creates that lush creamy contrast against the chocolate
- Cream cheese: Optional but gives the filling structure so it won't collapse under the soil
- Chocolate cookie crumbs: The coup de grâce—crush them finely for that convincing dirt texture
- Edible flowers: Pansies and violets work beautifully but always verify they're truly pesticide-free
Instructions
- Bake the foundation:
- Preheat that oven to 350°F and whisk together your dry ingredients until everything's well combined. Pour in the buttermilk, oil, egg, vanilla, and that surprising addition of hot water which makes the batter extra silky.
- Create the clouds:
- While your cake cools completely, whip the heavy cream with powdered sugar and vanilla until medium-stiff peaks form. Add softened cream cheese if you want a filling that holds its shape beautifully in the pots.
- Build your garden:
- Crumble that cooled chocolate cake into bite-sized pieces and start layering in clean flower pots or dessert cups. Cake first, then cream, then more cake, before burying it all under a generous blanket of chocolate cookie soil.
- Make it bloom:
- Tuck edible flowers, mint leaves, and tiny herb sprigs into the surface like they're actually growing from your delicious dirt creation. Chill everything for at least 30 minutes so the flavors can mingle and the layers can set.
 Save to Pinterest
 I keep a photo of my niece's third birthday party where she wore her fancy dress and dug into her flower pot dessert with both hands. chocolate smeared across her cheeks and a pansy tucked behind her ear like she'd been gardening in the sweetest possible way.
Finding The Right Vessels
Mini terracotta pots from garden centers look absolutely charming, but glass dessert cups let guests see the beautiful layers before they dig in. Either way, make sure they're thoroughly cleaned and lined if they're not food-grade glazed. I've also used mason jars and vintage tea cups when I wanted to switch up the presentation.
Making It Your Own
The basic formula is endlessly adaptable once you understand how the layers work together. Try adding berry compote between the cake and cream for a burst of tartness, or swap the chocolate cake for carrot cake and use crushed graham crackers as your soil. I once made a mocha version by adding espresso to the cake and the cream.
Timing Your Assembly
These little gardens need proper chilling time to hold their shape when served. The flavors also develop and meld during that resting period in the refrigerator. I've found that assembling them the morning of an event works perfectly.
- Plan for at least 30 minutes of chill time
- Add fresh flowers right before serving so they stay perky
- Keep everything refrigerated until the moment of revelation
 Save to Pinterest
 There's something deeply satisfying about serving dessert that makes people question reality for just a moment before they surrender to joy.
Recipe Q&A
- → What edible flowers work best for this dessert?
-
Pansies, violets, and nasturtiums are excellent choices due to their mild flavor and vibrant colors. Other options include lavender buds, rose petals, borage flowers, and calendula. Always purchase flowers specifically labeled as edible from reliable sources, or grow your own without pesticides. Avoid flowers from florists or garden centers as they may contain harmful chemicals.
- → Can I make this dessert ahead of time?
-
Yes, assemble the desserts up to 4 hours before serving and keep them refrigerated. However, add the edible flowers within 30 minutes of serving, as they may wilt from moisture in the cream. The cake layers and filling can be prepared a day in advance - store them separately in airtight containers in the refrigerator for optimal freshness.
- → What containers work best for presentation?
-
Small terracotta flower pots create the most authentic look, but ensure they're food-safe or line them with parchment paper. Glass dessert cups, mason jars, or clear bowls work beautifully to showcase the layered effect. Miniature pots (4-6 ounce capacity) are ideal for individual servings, while larger pots work for family-style presentation.
- → Can I make this dessert gluten-free or dairy-free?
-
For gluten-free versions, use a 1:1 gluten-free flour blend for the cake and gluten-free chocolate cookies for the soil. Dairy-free substitutions include coconut cream or plant-based whipping cream for the filling, and oil or vegan butter in place of buttermilk. The texture may vary slightly, but the visual appeal remains stunning.
- → How do I prevent the cake from becoming soggy?
-
Allow the chocolate cake to cool completely before crumbling and layering. The cookie soil layer between the cream and final decoration helps absorb excess moisture. Assemble the desserts shortly before serving, and avoid adding wet toppings like fruit compote directly against the cake layer without a cream barrier.
- → What variations can I try with this concept?
-
Replace chocolate cake with vanilla, red velvet, or lemon sponge for different flavor profiles. Add layers of berry compote, lemon curd, or chocolate ganache between the cake and cream. Try crushed graham crackers or shortbread cookies instead of chocolate cookies for the soil. Seasonal decorations work beautifully - fresh berries in summer, candied citrus in winter.