 Save to Pinterest
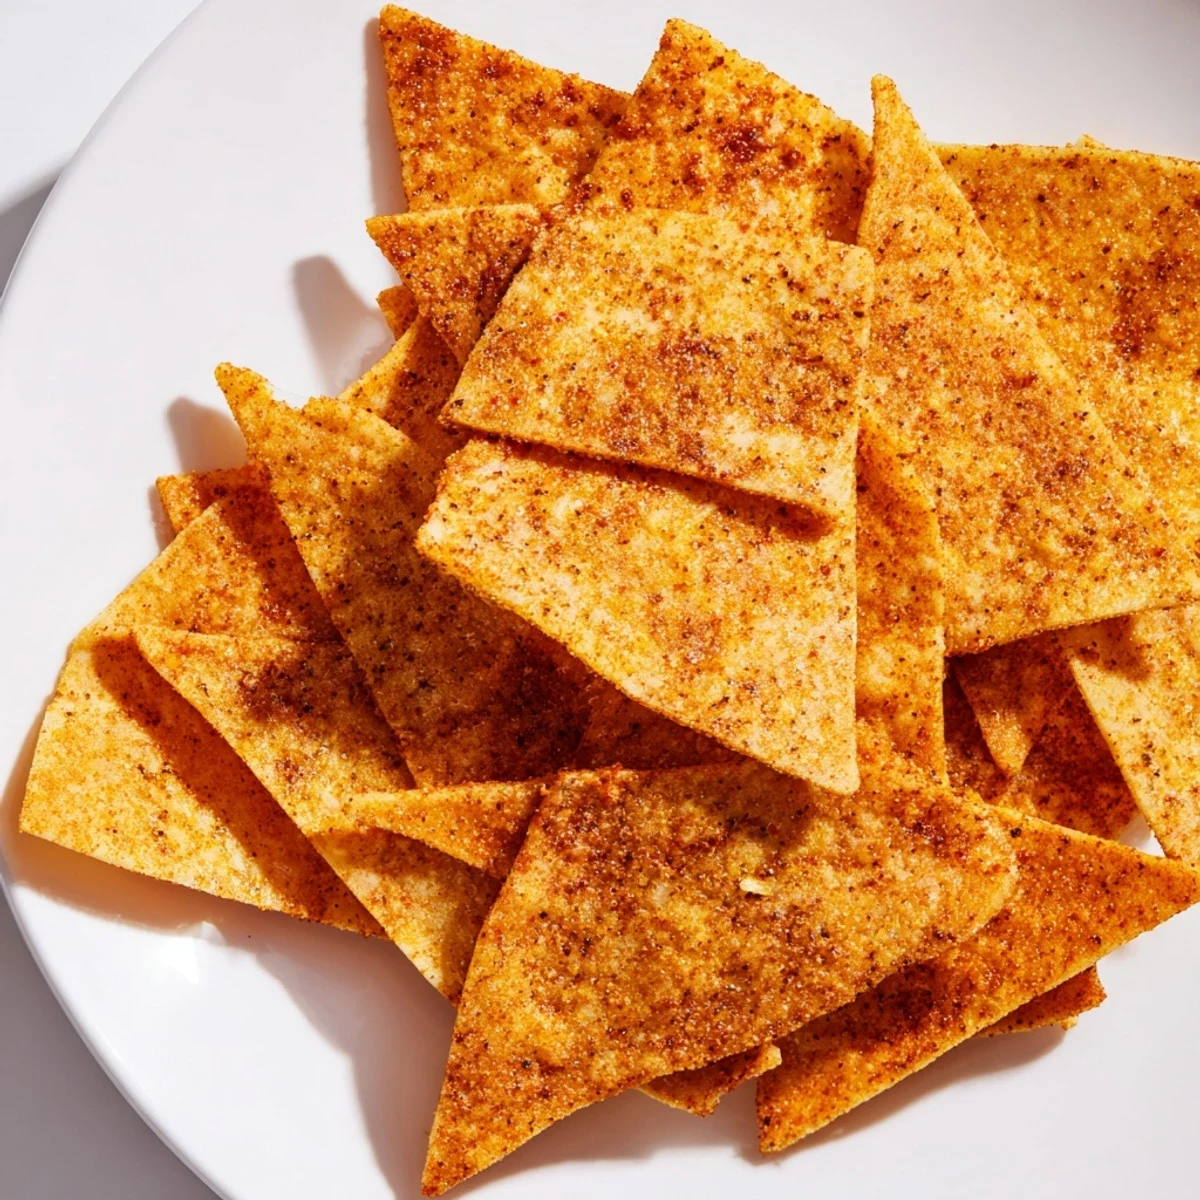
 Transform chickpea flour into golden, crispy chips seasoned with aromatic spices. These homemade snacks offer a healthy alternative to store-bought chips, featuring a satisfying crunch and rich flavor profile from smoked paprika, garlic powder, and cumin.
The simple batter comes together in minutes, bakes until perfectly crisp, and breaks into satisfying chip-sized pieces. Enjoy them plain or paired with your favorite dips like hummus or guacamole.
The rain was hammering against the kitchen window and I had exactly nothing in the pantry worth turning into a comfort snack until I spotted a forgotten bag of chickpea flour shoved behind the lentils. Twenty minutes later I was kneeling in front of the oven watching a thin golden sheet crisp up and smelling something unexpectedly wonderful. That afternoon birthed an obsession with chickpea chips that has never really faded. They are crunchy, deeply savory, and shockingly simple to make from pantry staples.
I brought a batch to a movie night at a friends house and watched three people fight over the last broken shard while the actual dinner sat untouched on the counter.
Ingredients
- Chickpea flour: Also called gram flour or besan, this is the soul of the recipe so grab a fresh bag because stale flour tastes flat and nothing fixes that later.
- Salt: Half a teaspoon is enough to make the seasoning sing without overwhelming the nutty chickpea flavor.
- Smoked paprika: This is the sneaky ingredient that makes people ask what your secret is every single time.
- Garlic powder: A quarter teaspoon is all you need for a gentle savory hum in the background.
- Ground cumin: Just a whisper of cumin adds warmth and ties everything together beautifully.
- Black pepper: Freshly cracked if you have it because the pre ground stuff tastes like dusty nothing.
- Water: Plain tap water works perfectly, no temperature tricks required.
- Olive oil: Two tablespoons go into the batter and a little extra gets brushed on top for that golden crackly finish.
Instructions
- Preheat and prepare:
- Set your oven to 180 degrees Celsius which is 350 Fahrenheit and line a baking sheet with parchment paper so nothing sticks and cleanup is effortless.
- Whisk the dry team:
- Tumble the chickpea flour, salt, smoked paprika, garlic powder, cumin, and black pepper into a mixing bowl and whisk them together until the color is uniform and no pale streaks remain.
- Bring in the wet:
- Pour in the water and olive oil then stir with purpose until you have a smooth thick batter with no lumps hiding in the corners.
- Spread it thin:
- Pour the batter onto your parchment lined sheet and use a spatula to coax it into an even layer about two to three millimeters thick because thickness determines everything between crisp and chewy.
- Brush with oil:
- Give the surface a gentle brush of olive oil which helps it blister and turn gorgeous golden in the heat.
- Bake until golden:
- Slide the tray into the oven and bake for twenty to twenty five minutes until the edges are deeply golden and the center feels firm and dry to the touch.
- Cool and break:
- Pull the sheet out, let it rest for a few minutes so it crisps further, then snap it into rustic chip sized pieces with your hands or cut neat squares with a knife.
- Serve and dip:
- Pile them into a bowl and serve alongside hummus, guacamole, or salsa, or simply eat them standing at the counter because they are that good on their own.
 Save to Pinterest
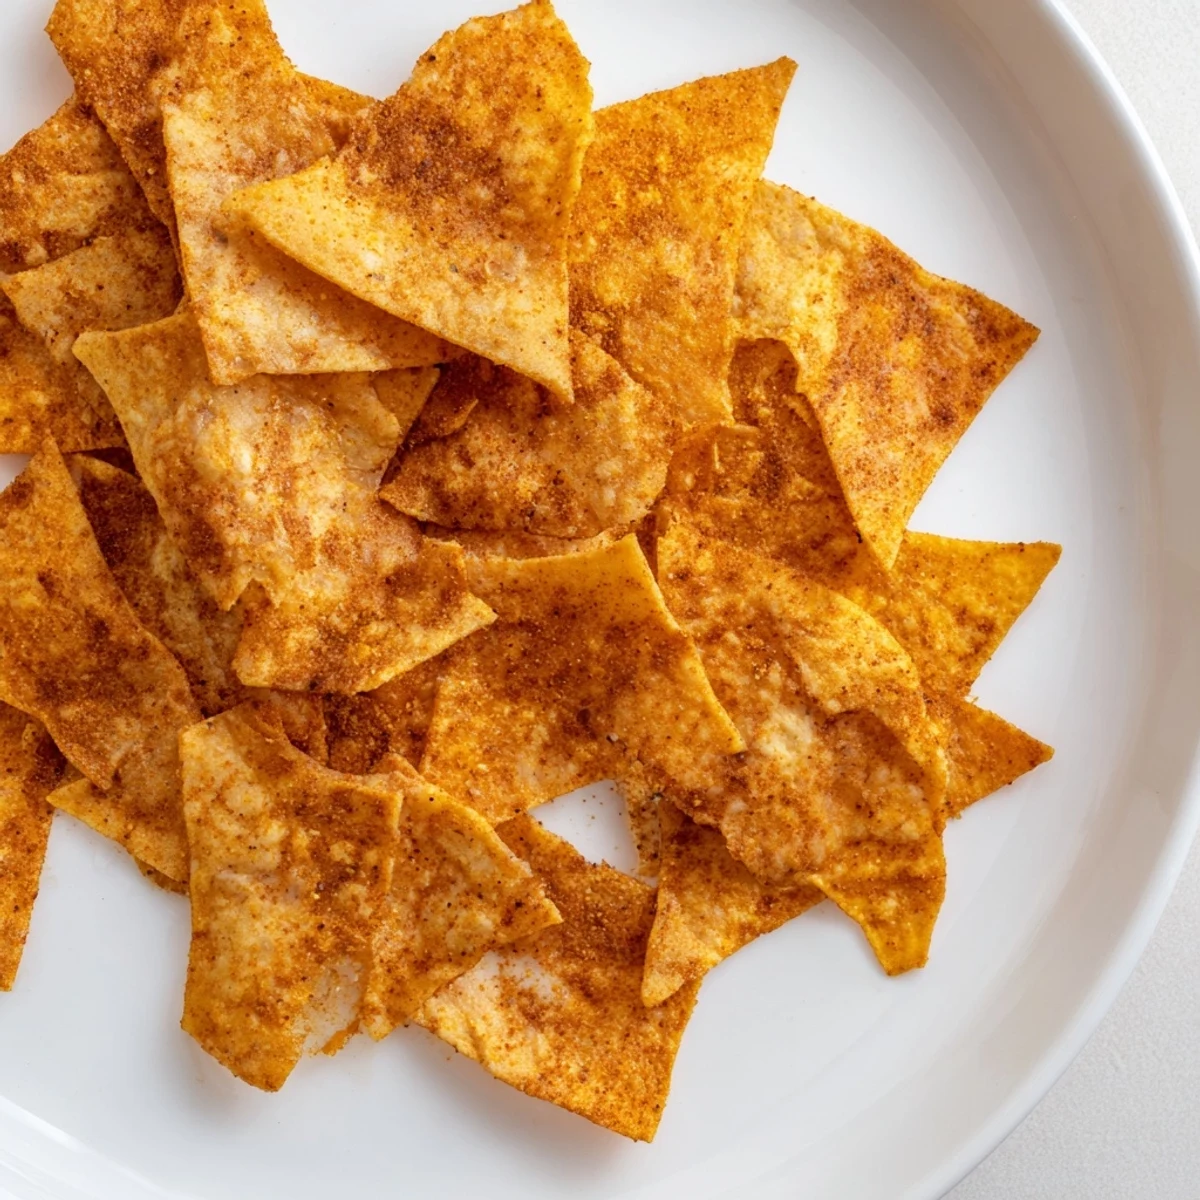
 There is something oddly satisfying about snapping a warm sheet of baked chickpea batter into jagged pieces with your bare hands, like edible pottery.
Flavor Variations Worth Trying
Rosemary and thyme pressed into the wet batter before baking will fill your kitchen with herbal fragrance and make the chips taste almost professionally crafted.
Storing Your Leftovers
Keep any extras in an airtight container at room temperature and they stay respectable for up to three days though in my experience they rarely survive the first evening.
Getting the Texture Right
The single most important decision you make is how thin to spread the batter, so treat it like a commitment that determines whether you get chips or crackers.
- Use an offset spatula if you have one because it gives you more control over even thickness.
- Rotate the baking sheet halfway through cooking since most ovens have hot spots that will burn one edge.
- Trust your eyes over the timer because the moment between golden and burnt is surprisingly brief.
 Save to Pinterest
 Keep a bag of chickpea flour in your pantry and you are never more than half an hour away from something warm, crunchy, and deeply satisfying. These chips are proof that the best snacks come from the simplest places.
Recipe Q&A
- → Are chickpea chips gluten-free?
-
Yes, these chips are naturally gluten-free since they're made entirely from chickpea flour and gluten-free spices. Always check ingredient labels to ensure no cross-contamination.
- → How do I store leftover chips?
-
Store cooled chips in an airtight container at room temperature for up to 3 days. For best results, add a silica packet or paper towel to absorb moisture and maintain crispiness.
- → Can I fry these instead of baking?
-
Yes, you can fry small spoonfuls of batter in hot oil until golden and crispy. Drain on paper towels to remove excess oil. This method creates lighter, airier chips with a different texture.
- → What seasonings work well in chickpea chips?
-
Beyond the suggested spices, try adding dried herbs like rosemary, thyme, or oregano. Nutritional yeast adds cheesy flavor, while cayenne pepper provides heat. Curry powder or za'atar create unique flavor profiles.
- → Why are my chips not crispy?
-
Chips may not crisp if the batter is spread too thickly. Aim for 2-3mm thickness. Ensure oven is fully preheated and bake until edges are golden. Flipping halfway through helps both sides crisp evenly.
- → Can I make these without oil?
-
You can reduce oil but eliminating it entirely affects texture. Try using water instead of oil in the batter, though chips will be harder. A light spray or minimal oil brushing still yields best crispy results.