 Save to Pinterest
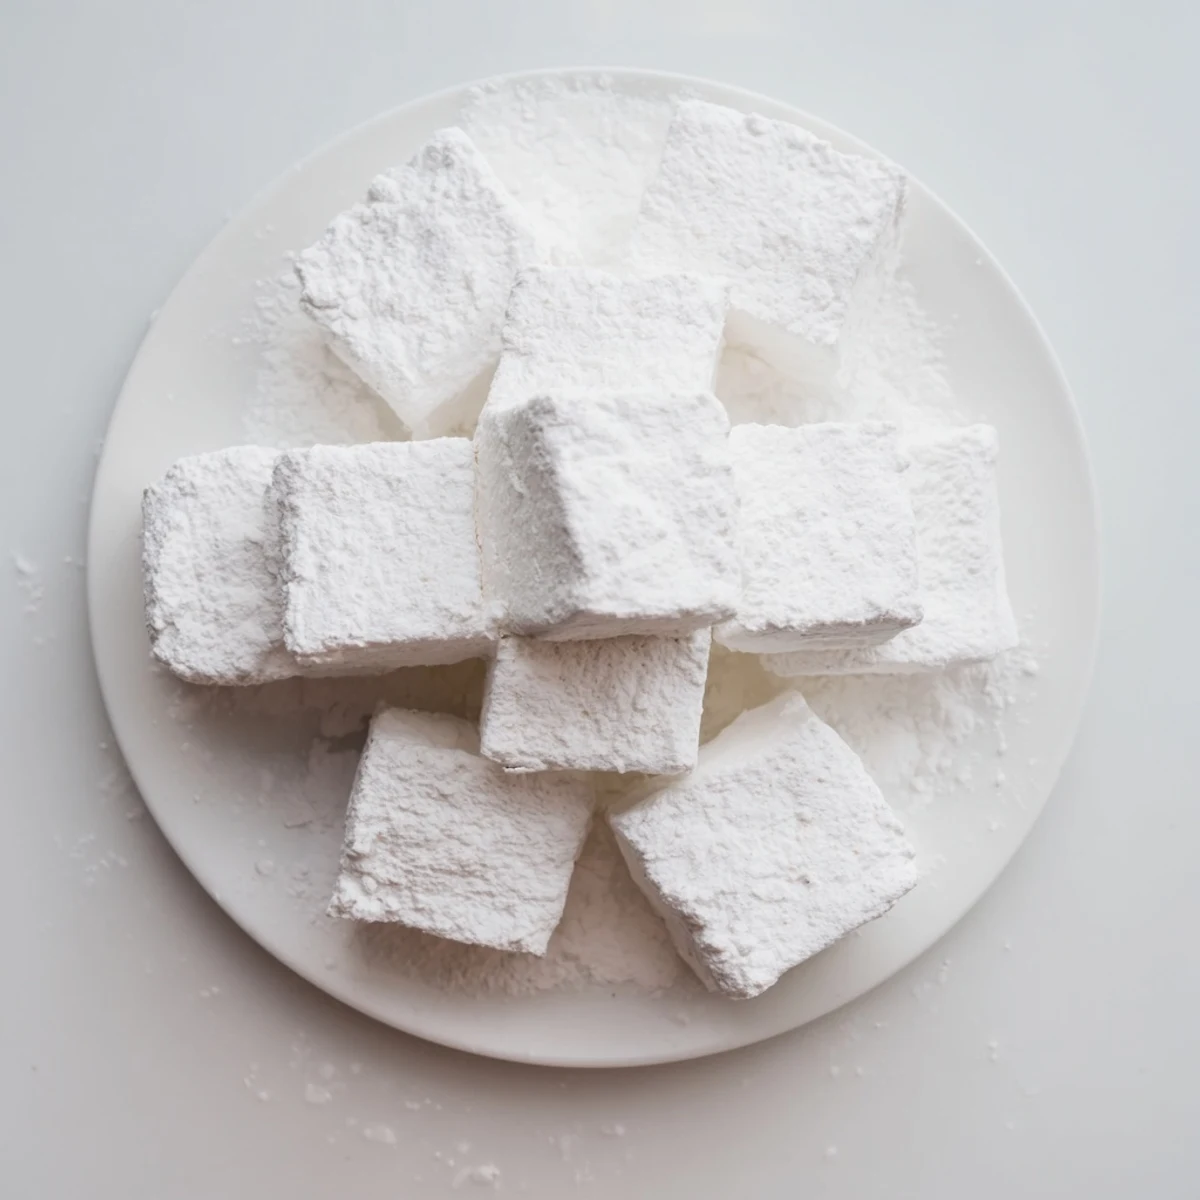
 Craft fluffy vanilla marshmallows using sugar syrup and gelatin, whipped to triple volume for that signature pillowy texture. The process involves blooming gelatin, cooking syrup to 240°F, then whipping until thick and white. After setting for four hours, these homemade treats can be cut into squares and coated with a sugar-cornstarch dusting.
Customize by adding food coloring or swapping vanilla for peppermint or almond extract. These versatile confections elevate hot chocolate, make classic s'mores irresistible, or shine on their own as sweet snacks.
The first time I made homemade marshmallows, I stood in my kitchen watching this glossy white transformation unfold and could barely believe it was the same stuff that comes in plastic bags at the grocery store. My daughter kept wandering in and out, asking if they were ready yet, until finally we had these pillowy squares sitting on the counter. Now store-bought marshmallows feel completely different—like comparing fresh bread to sandwich bread.
Last winter, my neighbor texted me at 9 pm asking what I was cooking because the buttery vanilla smell was drifting through the building vents. I ended up bringing over a whole pan, and we stood around her kitchen counter dipping fresh marshmallows into mugs of hot chocolate while snow fell outside the window. Some desserts are just meant to be shared that way.
Ingredients
- Granulated sugar: The foundation of your syrup—use plain white sugar for the cleanest flavor
- Light corn syrup or glucose syrup: This keeps your sugar syrup from crystallizing and gives marshmallows their signature chew
- Unflavored gelatin powder: The magic that transforms liquid into fluffy clouds—do not try to substitute with anything else
- Pure vanilla extract: Worth the extra cost for that deep aromatic flavor that cheap vanilla cannot match
- Confectioners sugar and cornstarch: This dusting mixture keeps your marshmallows from sticking to everything and adds that classic coating
Instructions
- Prep your pan and bloom the gelatin:
- Line a 9x9-inch pan with parchment paper and dust it generously with half of your confectioners sugar and cornstarch mixture. In your stand mixer bowl, sprinkle the gelatin over 1/2 cup cold water and let it sit for at least 10 minutes until it looks like softened applesauce.
- Cook the sugar syrup:
- In a saucepan, combine the granulated sugar, corn syrup, 1/4 cup water, and salt. Heat over medium until the sugar dissolves completely, then turn up the heat and bring to a boil without stirring. Attach a candy thermometer and cook until it reaches exactly 240°F (115°C)—this should take about 10–12 minutes.
- Whip until fluffy:
- With the mixer running on low speed, carefully pour that hot syrup into the bloomed gelatin. Once it is all added, turn the mixer to high and whip for 8–10 minutes until the mixture is white, thick, and has tripled in volume. Add the vanilla and mix for another 30 seconds to incorporate.
- Set and cut your marshmallows:
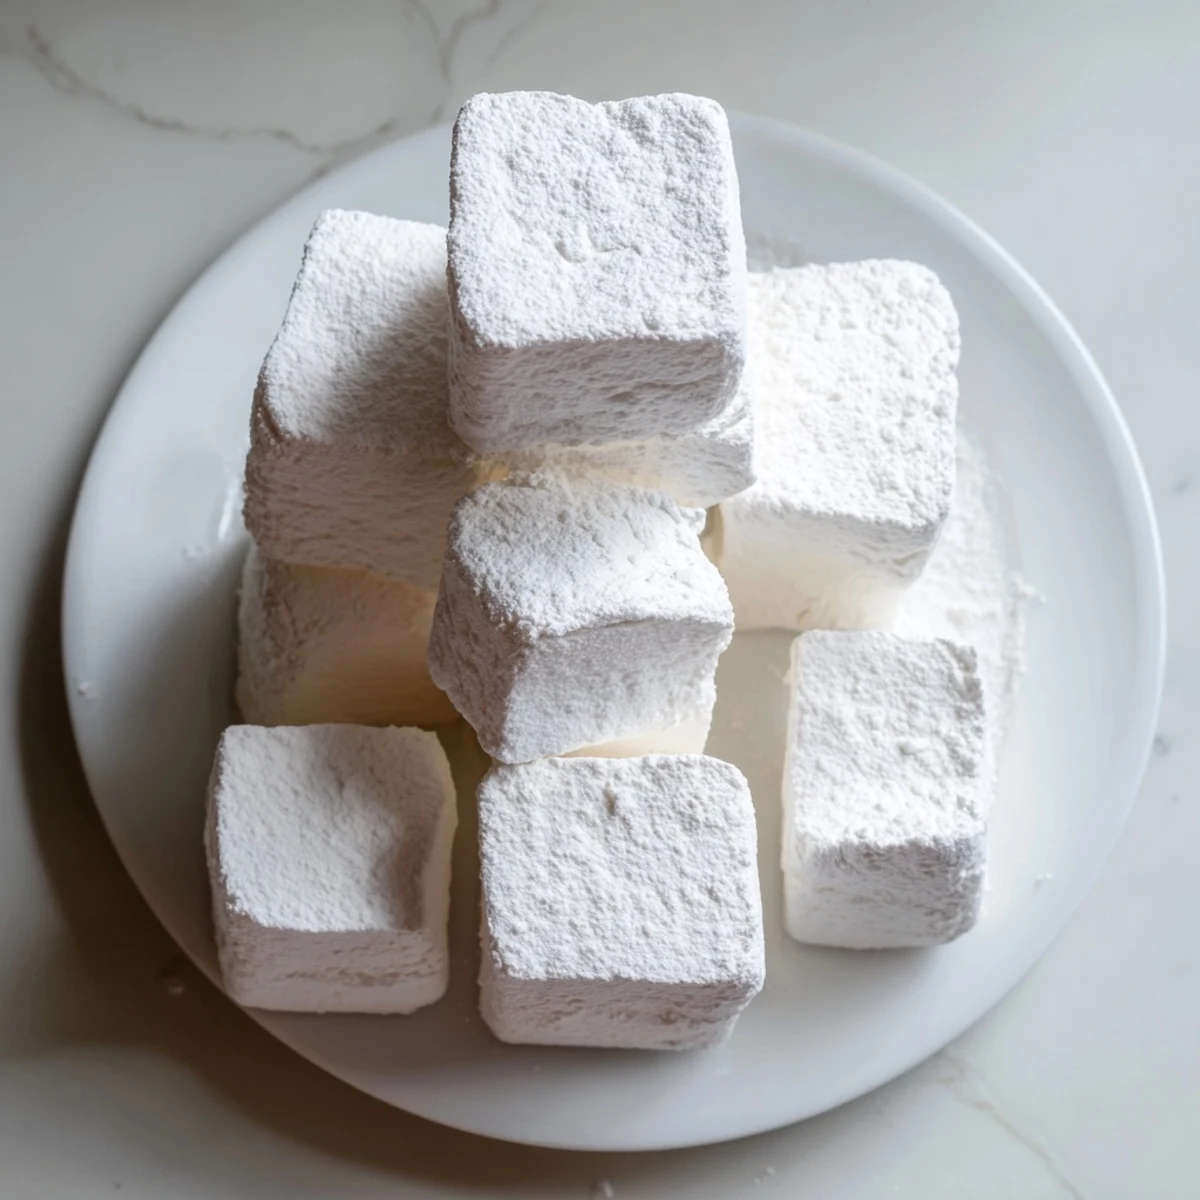
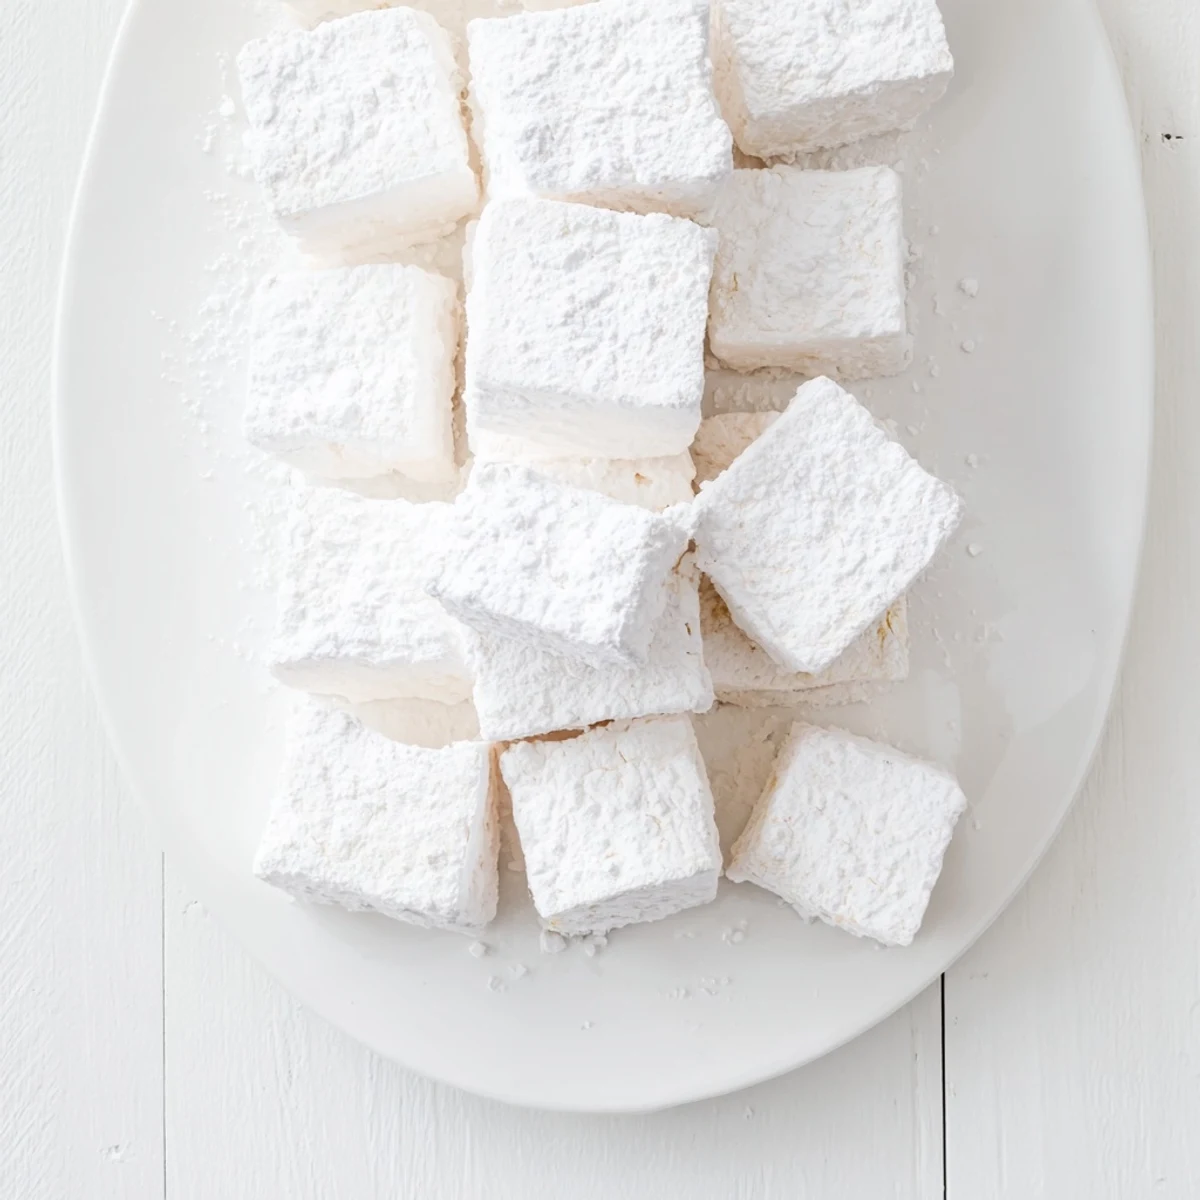
- Working quickly before it sets, scrape the marshmallow mixture into your prepared pan and smooth the top with a damp spatula. Dust the surface with the remaining sugar-cornstarch mixture and let it sit uncovered at room temperature for at least 4 hours, or overnight. Turn the slab onto a cutting board, cut into squares with a sharp knife dusted in powdered sugar, and toss each piece to coat all sides.
 Save to Pinterest
 My dad, who grew up thinking marshmallows only came from bags, tried one of these and spent the rest of the evening trying to figure out what made them so different. The next week he called to tell me he had bought a candy thermometer and was attempting them himself, though he did admit his first attempt turned into more of a marshmallow pancake situation.
Getting Creative with Flavors
Once you have mastered the basic vanilla marshmallow, the flavor possibilities are endless. Peppermint extract makes incredible holiday marshmallows, while a swirl of raspberry puree creates the prettiest pink clouds. Just remember that liquid additions can affect the texture, so start small.
Perfecting the Toast
Homemade marshmallows toast differently than store-bought—they caramelize faster and develop this incredible golden crust. Watch them closely over a campfire or under the broiler because they go from golden to burnt in seconds. The inside turns into this warm, gooey wonderland.
Storage and Serving Suggestions
These marshmallows keep remarkably well in an airtight container for up to a week, though they rarely last that long in my house. They transform ordinary hot chocolate into something special and make s'mores feel completely new again.
- Cut them into larger squares for roasting over a fire
- Try miniature marshmallows for topping sweet potatoes or hot chocolate
- Package them in little bags with a cute tag for an easy homemade gift
 Save to Pinterest
 There is something deeply satisfying about making something from scratch that most people only know from a package. Plus, watching someone taste a homemade marshmallow for the first time is pretty much the best reaction ever.
Recipe Q&A
- → How long do marshmallows need to set?
-
Allow at least 4 hours at room temperature for the marshmallows to set properly. Overnight resting yields even better results for easier cutting and optimal texture.
- → Can I make these without a stand mixer?
-
A stand mixer with whisk attachment is highly recommended since whipping takes 8-10 minutes on high speed. Hand mixers may work but could overheat during the extended whipping time required.
- → Why do I need a candy thermometer?
-
The sugar syrup must reach exactly 240°F (115°C) for proper marshmallow texture. Without accurate temperature, the mixture won't set correctly, resulting in sticky or dense treats.
- → How should I store homemade marshmallows?
-
Keep in an airtight container at room temperature for up to one week. The sugar-cornstarch coating prevents sticking, but avoid refrigeration which makes them hard.
- → Can I use honey instead of corn syrup?
-
Corn or glucose syrup creates the desired texture. Honey adds distinct flavor and alters consistency, potentially affecting the final product's fluffiness and stability.
- → What's the purpose of dusting with sugar and cornstarch?
-
The coating prevents marshmallows from sticking to the pan, knife, or each other. It also creates that classic powdery exterior while protecting the soft interior.