 Save to Pinterest
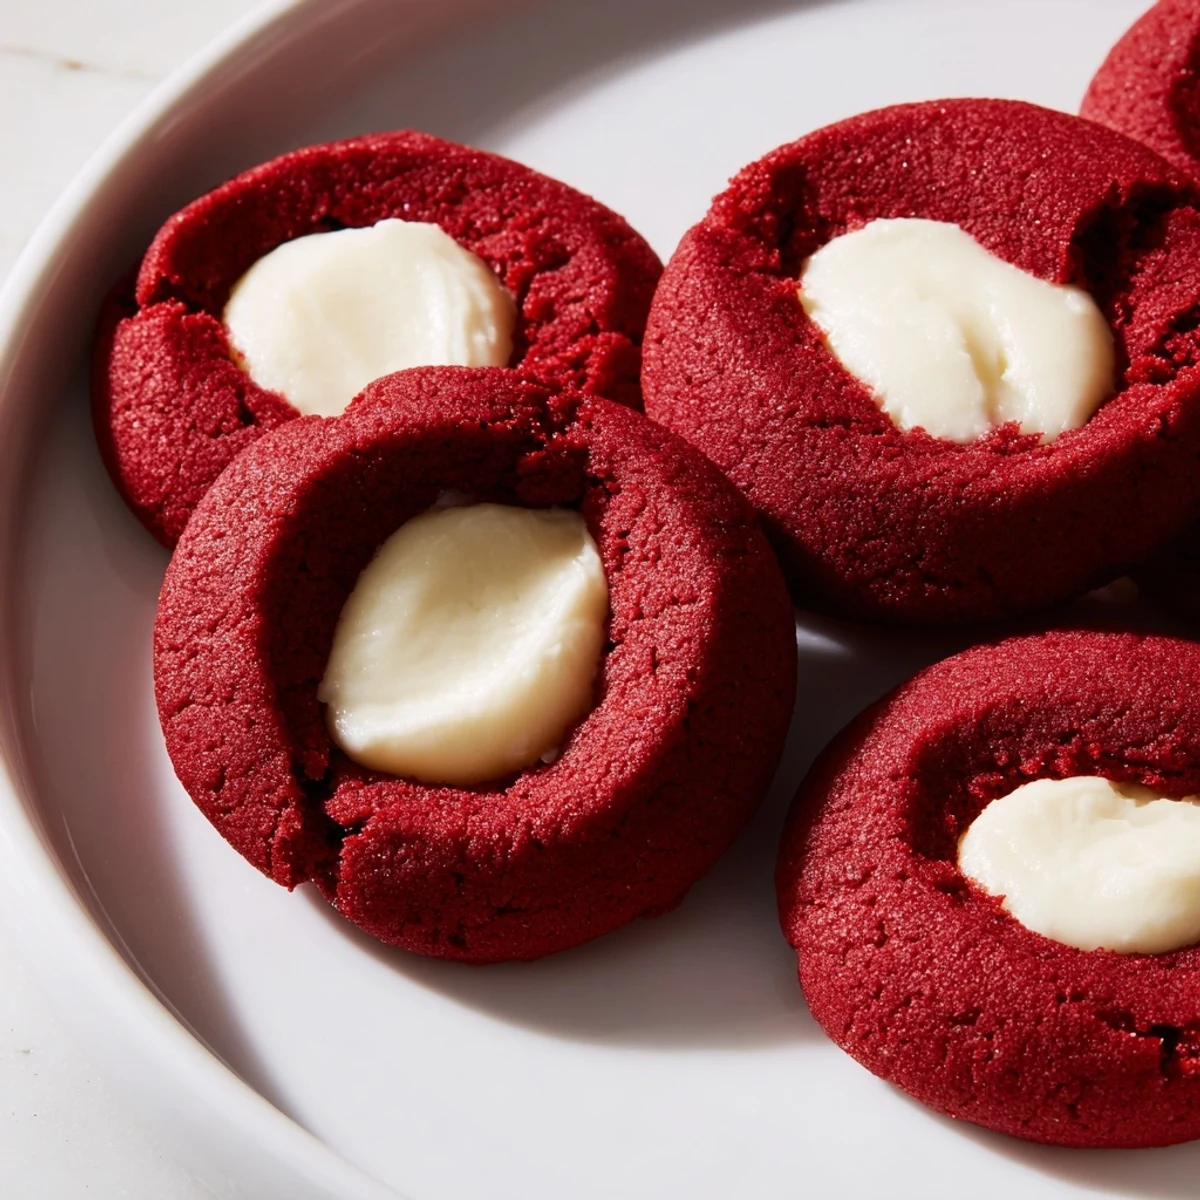
 These classic red velvet thumbprint cookies combine rich cocoa flavor with vibrant color and a tender, melt-in-your-mouth texture. Each cookie features a deep well filled with smooth cream cheese frosting that balances the chocolate notes perfectly.
The dough comes together quickly with basic pantry staples, requiring just 20 minutes of prep before baking. The thumbprint technique creates space for the luscious filling, which can be customized with white chocolate ganache for an extra indulgent variation.
Ideal for holiday gatherings, Valentine's Day, or whenever you want to add a touch of elegance to your dessert spread. The striking red color makes these cookies visually stunning on any serving platter.
My kitchen counter looked like a crime scene that winter afternoon, streaked with bright red food coloring and dusted in cocoa powder. I was trying to recreate those bakery cookies with the creamy centers, convinced I could nail the technique on the first attempt. The batter turned this shocking shade of crimson that made me laugh out loud, and somewhere between the mess and the anticipation, I knew these were going to be something special.
I brought a batch to my sister's holiday gathering that year, and I watched our uncle hover by the dessert table, casually circling back until hed somehow eaten four of them. Later he confessed he normally skips red velvet anything because it always tastes like food coloring and disappointment, but these changed his mind completely. Now theyre the first thing anyone asks about when I mention Im baking.
Ingredients
- All-purpose flour: The structural foundation that holds everything together, and weighing it rather than scooping prevents dense cookies
- Unsweetened cocoa powder: This deep chocolate flavor is what makes red velvet taste like velvet instead of just red cake
- Baking soda: Just enough lift to give these tender centers without spreading too thin in the oven
- Salt: A quarter teaspoon wakes up all the other flavors and keeps them from tasting flat
- Unsalted butter: Softened to room temperature so it creams properly with the sugar for that melt-in-your-mouth texture
- Granulated sugar: Creates crisp edges while keeping centers soft and gives the cookies their signature crackled tops
- Egg yolk: Using just the yolk adds richness and helps maintain a tender crumb without making the dough too wet
- Whole milk: Just enough moisture to bring the dough together without making it sticky or hard to handle
- Vanilla extract: Pure extract makes a noticeable difference in the overall depth of flavor
- Red food coloring: Gel coloring gives the most vibrant red without adding excess liquid to your dough
- Cream cheese: Make sure its completely softened so your filling turns out silky smooth instead of lumpy
- Powdered sugar: Sweetens the filling just enough while keeping it thick enough to stay put in those thumbprints
Instructions
- Get your oven ready:
- Preheat to 350°F and line two baking sheets with parchment paper so you are not scrambling later
- Whisk the dry ingredients:
- Combine flour, cocoa powder, baking soda, and salt in a medium bowl, breaking up any cocoa clumps
- Cream the butter and sugar:
- Beat them together for a full 2 minutes until the mixture looks pale and fluffy, this step is worth the effort
- Add the wet ingredients:
- Mix in the egg yolk, milk, vanilla, and red food coloring until the color is uniform throughout
- Combine everything:
- Gradually stir in the dry ingredients just until no flour streaks remain, overmixing makes tough cookies
- Make the filling:
- Whisk cream cheese, powdered sugar, and vanilla in a small bowl until completely smooth
- Shape the cookies:
- Roll dough into 1-inch balls and space them 2 inches apart on your prepared sheets
- Create the thumbprints:
- Press your thumb gently into each ball, going deep enough to hold the filling but not through to the bottom
- Fill the centers:
- Spoon about half a teaspoon of cream cheese filling into each indentation
- Bake until set:
- Slide them into the oven for 11 to 13 minutes until edges look firm
- Cool completely:
- Let them rest on the baking sheet for 5 minutes, then move to a wire rack to finish cooling
 Save to Pinterest
 Last Christmas I made these with my niece, and she took the thumbprint part literally, pressing her tiny thumb into every single dough ball. The cookies came out uneven and charmingly lopsided, but nobody cared, and honestly, they were gone faster than any picture-perfect batch I have ever made.
Making These Ahead
You can roll the dough balls and freeze them on a baking sheet, then transfer to a bag and bake straight from frozen, just add another minute or two to the baking time. The filling should be made fresh though, it loses that creamy texture if frozen and thawed.
Filling Variations
Sometimes I swap the cream cheese for white chocolate ganache, melting white chocolate chips with a splash of heavy cream until glossy and thick. During peppermint season, a crushed candy cane pressed into the soft filling right after baking adds this lovely crunch and festive speckle.
Storage Tips
These really do need to be refrigerated because of that cream cheese center, and the cold actually improves their texture, making them firmer and easier to handle. They will keep for four days, though in my house they barely survive twenty-four hours.
- Layer them between wax paper in an airtight container so they do not stick together
- Bring to room temperature for about 15 minutes before serving for the best texture
- The red color intensifies overnight, so they look even more vibrant the next day
 Save to Pinterest
 There is something satisfying about pressing your thumb into that soft red dough, like youre leaving your mark on something that will bring someone else a moment of joy. Hope these become part of your own kitchen traditions.
Recipe Q&A
- → What makes these cookies red velvet?
-
The combination of cocoa powder and red food coloring creates the signature red velvet flavor and appearance. The cocoa provides depth while the coloring gives the classic vibrant red hue associated with red velvet treats.
- → Can I use different fillings?
-
Absolutely! While cream cheese frosting is traditional, you can fill the centers with white chocolate ganache, chocolate ganache, or even fruit preserves for variation. Just ensure the filling is thick enough to hold its shape during baking.
- → How do I store these cookies?
-
Store in an airtight container in the refrigerator for up to 4 days. The cream cheese filling requires refrigeration to maintain freshness and texture. Bring to room temperature before serving for the best flavor and consistency.
- → Why do my cookies lose their thumbprint shape?
-
If the indentations fill in during baking, simply press them down again with a spoon immediately after removing from the oven while they're still warm. Work quickly—the cookies set fast as they cool.
- → Can I freeze the dough?
-
Yes, shape the dough balls and freeze them on a baking sheet before transferring to a freezer bag. When ready to bake, let thaw slightly, create the indentations, fill, and bake as directed. Add 1-2 minutes to baking time if baking from frozen.
- → What's the best way to get uniform cookies?
-
Use a cookie scoop to portion equal amounts of dough for each ball. This ensures even baking and consistent size. For perfect indentations, use the round handle of a wooden spoon or your thumb dipped in flour to prevent sticking.