 Save to Pinterest
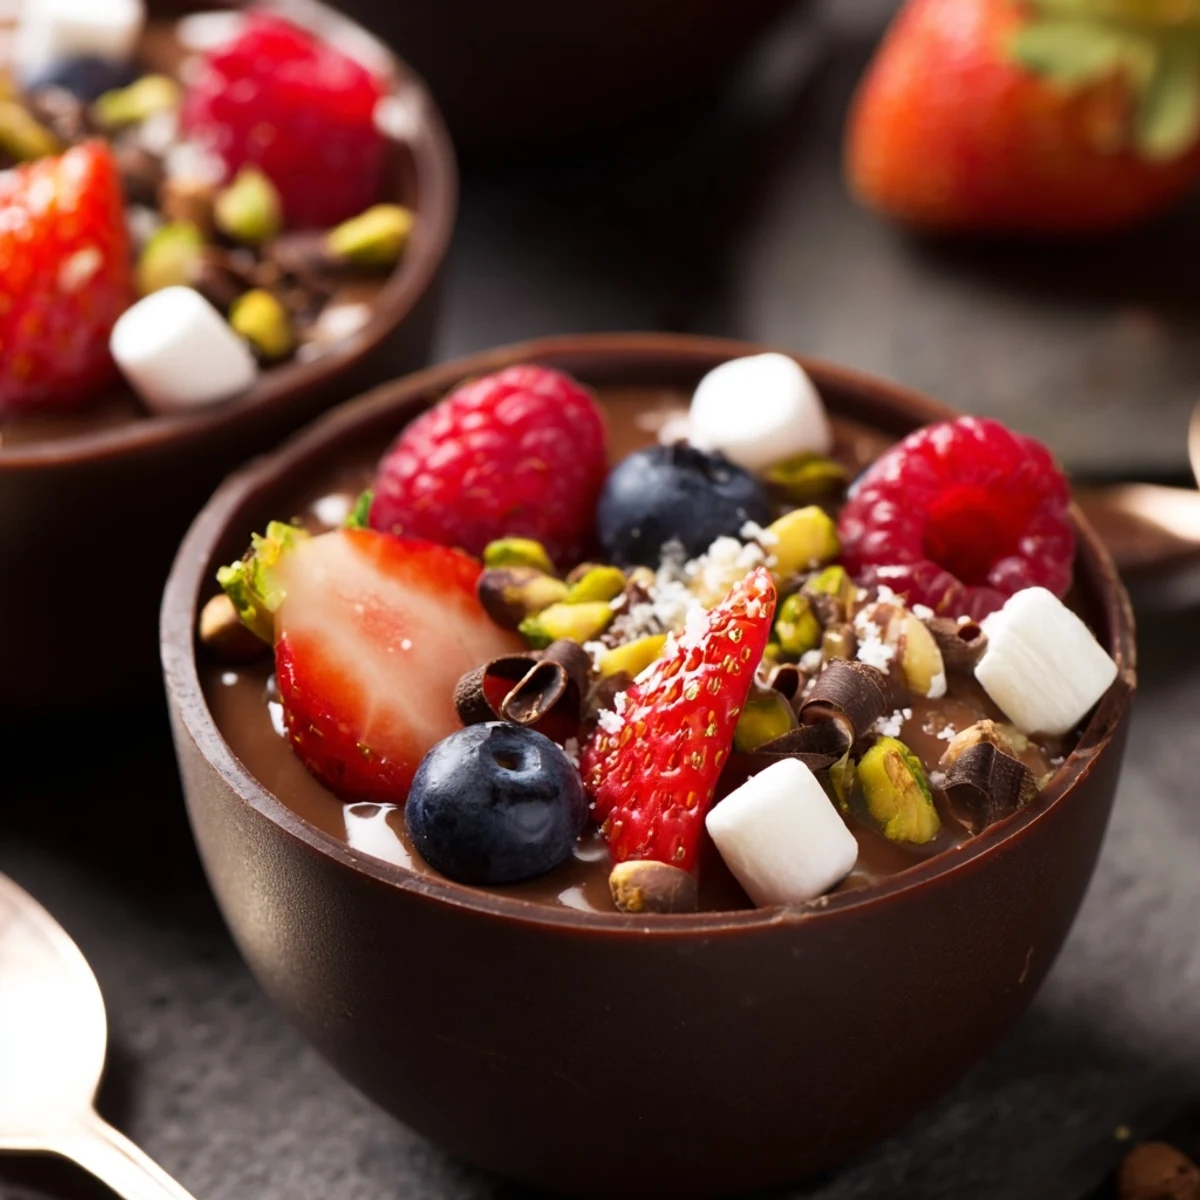
 These decadent chocolate grazing cups feature handmade dark chocolate vessels filled with silky chocolate mousse, topped with fresh mixed berries, chopped nuts, mini marshmallows, and chocolate curls. Perfect for dessert tables, special occasions, or sweet indulgence cravings.
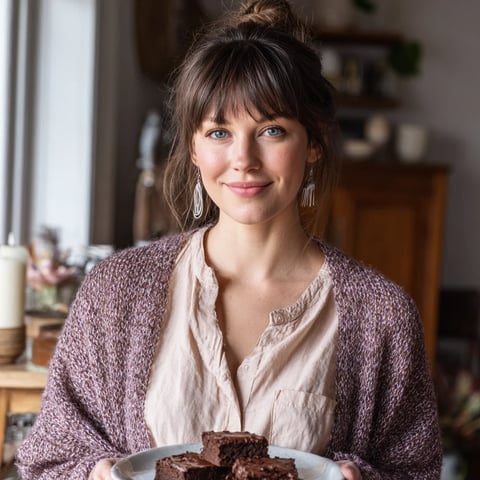
The first time I made chocolate cups, my kitchen smelled like a chocolate shop. I was nervous about tempering chocolate correctly, but silicone cupcake liners turned out to be my secret weapon. My dinner guests actually gasped when I brought out the tray, which I'll take as the ultimate compliment.
I served these at my sister's birthday last spring. We sat on her balcony until midnight, picking at the grazing cups and talking about everything. Something about eating dessert with your fingers makes conversations flow easier.
Ingredients
- 200 g dark chocolate: The foundation of both cups and mousse. Go for at least 60% cocoa for that sophisticated bitterness that balances the sweet toppings
- 200 ml heavy cream: Cold cream whips up beautifully for the mousse. I chill my bowl and whisk for 10 minutes beforehand
- 2 tbsp powdered sugar: Just enough sweetness to enhance the chocolate without overpowering it
- 1 tsp vanilla extract: Pure vanilla makes the cream taste more luxurious
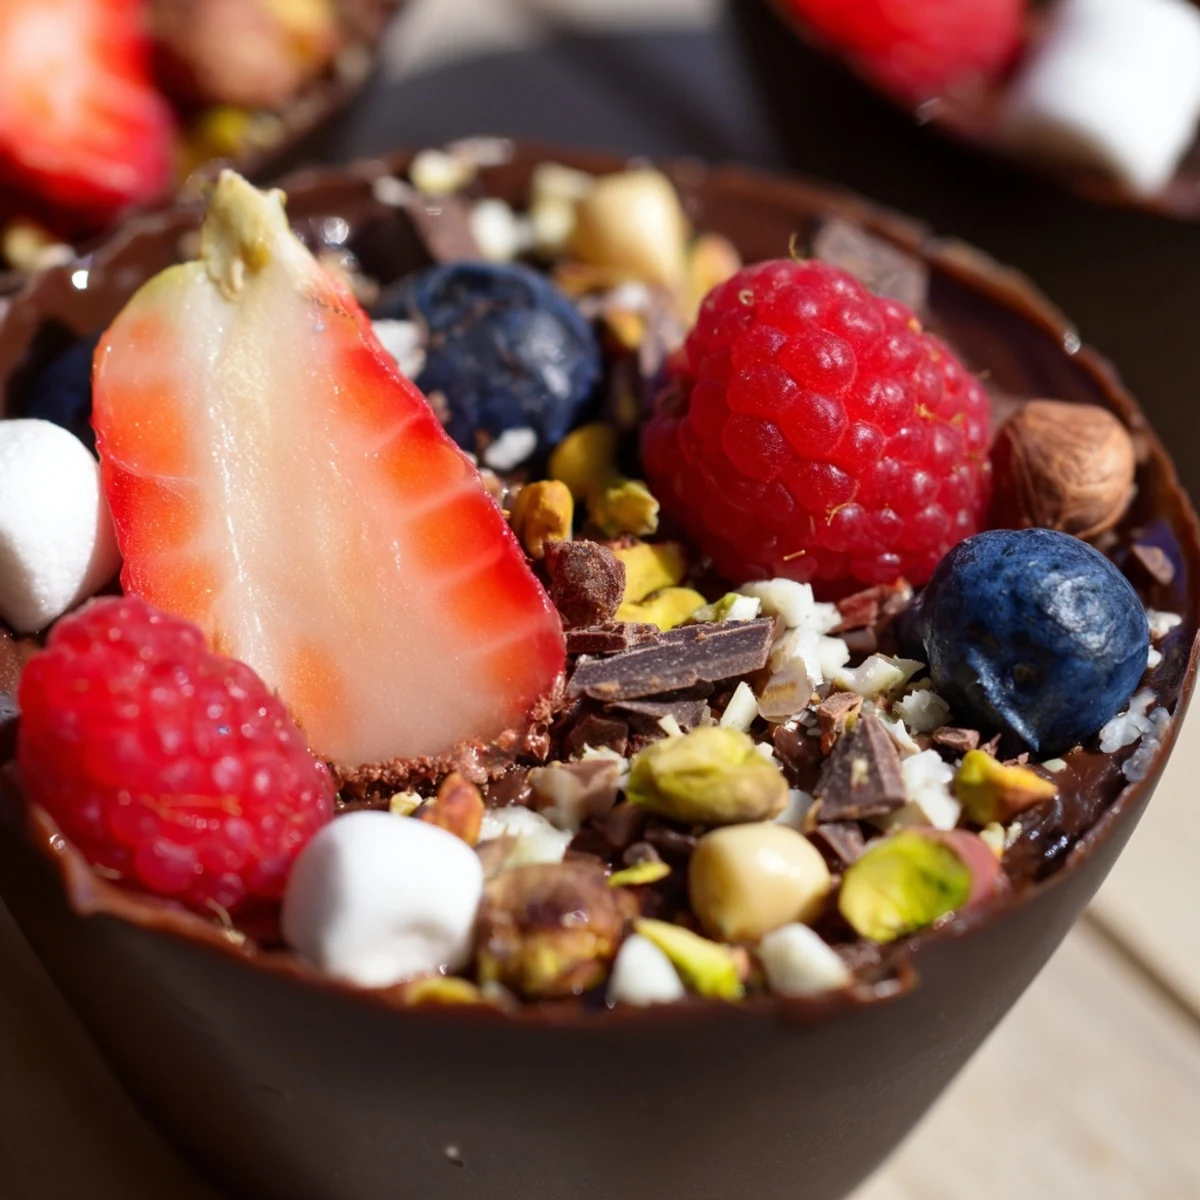
- 1 cup fresh mixed berries: Raspberries, strawberries, and blueberries cut through the richness perfectly
- 2 tbsp chopped nuts: Hazelnuts are my favorite, but almonds or pistachios work beautifully
- 2 tbsp mini marshmallows: These add such a fun, nostalgic touch
- 2 tbsp chocolate curls: Use a vegetable peeler on a room temperature chocolate bar for perfect curls
- Edible gold leaf: Totally optional but makes these cups look absolutely stunning
Instructions
- Melt the chocolate:
- Break 200g dark chocolate into pieces and melt in short bursts, stirring every 20 seconds until smooth and glossy. Patience here pays off with perfectly tempered chocolate.
- Form the cups:
- Using a pastry brush or back of a spoon, coat 6 silicone liners with melted chocolate, making sure the layer is thick enough to hold together but thin enough to bite through easily. The chocolate should cover the bottom and reach about halfway up the sides.
- Chill until set:
- Place the liners on a baking sheet and refrigerate for 20 minutes until the chocolate is completely firm. Gently peel away the liners to reveal your chocolate cups, handling them carefully to avoid cracks.
- Prepare the mousse base:
- Melt the remaining 100g chocolate and let it cool slightly while you whip the cream. This temperature balance is crucial for a smooth, stable mousse.
- Whip the cream:
- In a chilled bowl, beat the heavy cream with powdered sugar and vanilla until soft peaks form. Stop before it becomes stiff or the texture will turn grainy instead of silky.
- Combine mousse:
- Stir a dollop of whipped cream into the melted chocolate to lighten it, then gently fold the chocolate mixture back into the remaining cream. The mousse should be smooth and hold its shape when you lift the whisk.
- Fill the cups:
- Spoon or pipe the mousse into each chocolate cup, filling about two thirds full. Leave room at the top for all those beautiful toppings.
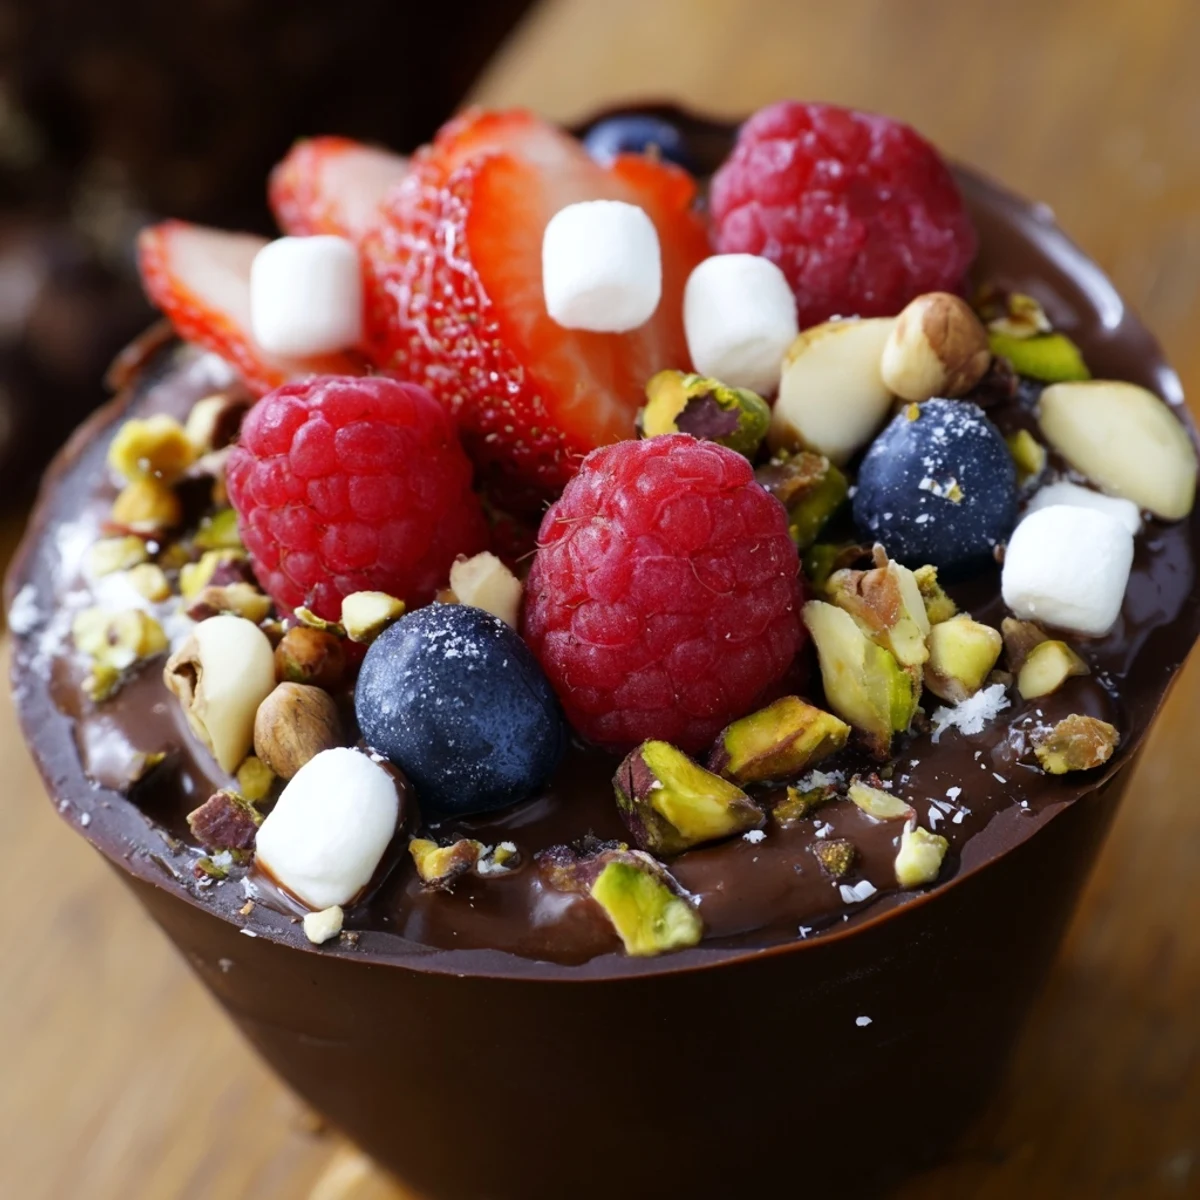
- Add the finishing touches:
- Arrange berries, nuts, marshmallows, and chocolate curls on top of each cup. Let yourself get creative here, like youre painting tiny edible landscapes.
- Final chill:
- Refrigerate the assembled cups for at least 20 minutes so the mousse sets completely. Serve them chilled for the best texture and flavor.
 Save to Pinterest
 My friend asked for the recipe before she even finished her first cup. I watched her close her eyes after each bite, which is honestly the best review a cook can ask for.
Making Them Your Own
White chocolate cups with strawberry mousse became my summer variation. The color contrast alone stops conversations. I keep a stash of different chocolates in my pantry just in case inspiration strikes.
Setting Up A Grazing Table
Arrange these cups alongside other finger foods and let people graze. They work surprisingly well with cheese boards. The key is varying heights with cake stands and small bowls.
Serving Suggestions
A dessert wine like port or sauternes pairs beautifully with the dark chocolate. Coffee lovers should try these with an espresso. These cups are also perfect for sharing because everyone gets their own portion.
- Let the cups sit at room temperature for 5 minutes before serving
- Offer small forks for guests who prefer not to eat with their hands
- Prepare all components ahead but assemble close to serving time
 Save to Pinterest
 These little cups have become my go to for bringing joy to ordinary days.
Recipe Q&A
- → How far in advance can I make these chocolate cups?
-
The chocolate cups can be prepared up to 2 days in advance and stored in an airtight container at room temperature. For best results, assemble with mousse and toppings the same day as serving to maintain optimal texture and freshness.
- → What other toppings work well with these cups?
-
Beyond berries and nuts, try adding crushed cookies, shredded coconut, caramel drizzle, fresh mint leaves, or edible flowers. The versatile base pairs beautifully with any sweet or crunchy garnish that complements rich chocolate.
- → Can I make these without cupcake liners?
-
Yes, you can use small silicone molds, chocolate molds, or even paint melted chocolate onto the inside of small bowls. Alternatively, create freeform chocolate cups by drizzling melted chocolate over the back of spoons or onto parchment paper in circular patterns.
- → What type of chocolate works best for the cups?
-
Dark chocolate with at least 60% cocoa content creates the most stable cups with a rich flavor profile. The higher cocoa percentage helps the chocolate set firmly at room temperature and provides a sophisticated taste that balances sweet toppings perfectly.
- → How do I store leftovers?
-
Store assembled cups in the refrigerator for up to 24 hours. Keep them in an airtight container to prevent the chocolate from absorbing other flavors. Note that fresh berries may release some moisture over time, so enjoy within a day for the best texture experience.
- → Can I make these vegan or dairy-free?
-
Absolutely. Use vegan dark chocolate and replace heavy cream with full-fat coconut cream or cashew cream for the mousse. Ensure all toppings like marshmallows are vegan-friendly. The texture will be slightly different but equally delicious.